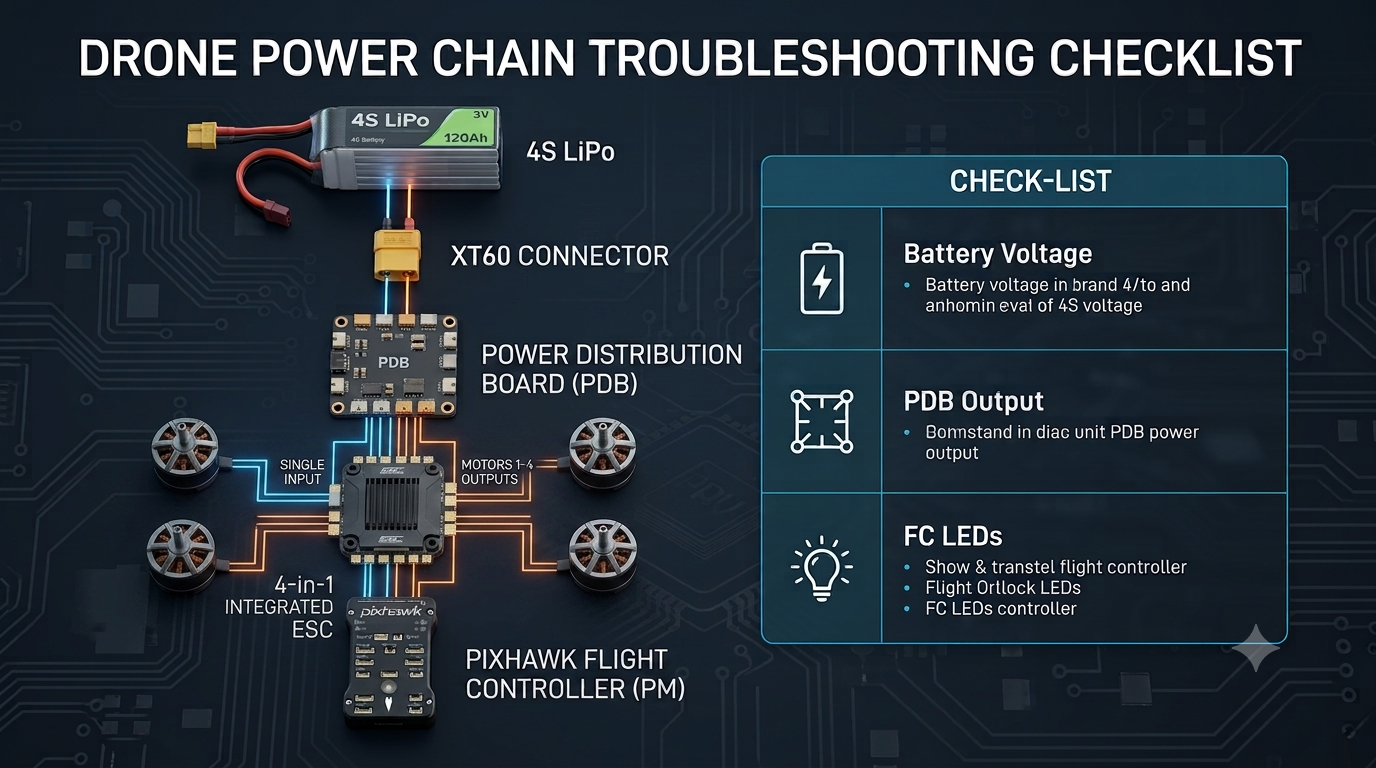
Crashing your drone is frustrating, but seeing it completely lifeless when you plug the battery back in can be downright terrifying. Before you panic and start buying a brand-new flight controller, take a deep breath.
In 90% of cases, a "dead" drone is simply a broken link in the power chain: Battery → XT60 Connector → Power Distribution Board (PDB) → ESC → Flight Controller. If any single point along this path is damaged, the entire system goes dark.
A dead drone doesn't always equal a fried flight controller. Follow this systematic 3-step Troubleshooting SOP (Standard Operating Procedure) to locate the exact fault in under 10 minutes—starting from the easiest fixes before touching any hardware.
⚠️ CRITICAL SAFETY WARNING: Always disconnect the battery before soldering or replacing components. Pay strict attention to polarity (Positive/Negative)—reversing these will instantly destroy your electronics. Ensure all bare joints are insulated with heat-shrink tubing to prevent short circuits.
Before probing with a multimeter, it helps to visualize how current flows through your aircraft:
Note: If you are using Opto ESCs (which lack a built-in BEC), they cannot output 5V to power your hardware. You must rely on a PDB or an independent Power Module to feed the flight controller.
The very first link in your chain is the power source itself. A violent impact can easily damage cells or rupture internal leads.
| Inspection Item | Testing Method | Normal Benchmark |
|---|---|---|
| Total Voltage | Measure across the XT60 main leads | 3S: ≥11.1V / 4S: ≥14.8V |
| Cell Voltage Delta | Check individual cells via the balance lead | Delta ≤ 0.1V (Over 0.2V indicates critical imbalance) |
| Physical Condition | Visual and tactile inspection | No puffiness, swelling, deformation, or leaking fluid |
| XT60 Interface | Inspect metal bullet connectors | Bright metallic contacts with zero black arcing marks |
If the battery is healthy but nothing turns on, the impact might have cracked a trace on your board or fried a regulator.
| Inspection Item | Testing Method | Normal Benchmark |
|---|---|---|
| Input Voltage | Multimeter at PDB main power pads | Should equal Battery Voltage |
| Output Voltage | Multimeter at ESC power pads | Should equal Battery Voltage |
| 5V Rail Output | Multimeter at the PDB 5V pads | 5.0V ± 0.3V |
| Power Module Output | Measure pins on the PM-to-FC cable | 5.0V ± 0.3V |
If the PDB is pushing clean power but the flight controller remains dark, we need to determine if the issue lies in the power delivery or the core MCU itself.
| Inspection Item | Testing Method | Normal Benchmark |
|---|---|---|
| POWER Port Voltage | Multimeter at the FC input pins | 5.0V ± 0.3V |
| FC Onboard LEDs | Plug in battery, watch status lights | Red/Blue flashing (Firmware booting successfully) |
| USB Isolated Power | Unplug battery; connect FC to PC via USB only | FC powers up ➔ Fault is in the battery power circuit |
| Serial Connection | Launch Mission Planner / Betaflight over USB | Successful connection ➔ Flight Controller core is alive |
Don't let a crash keep you grounded. If your troubleshooting pointed to a dead component, we've got you covered with premium, battle-tested hardware:
Got a weird multimeter reading that doesn't fit this guide? Drop a comment below with your voltage numbers, and our engineering team will help you diagnose it!

